

Arduino Step By Step: Getting Started 2022
Last updated 10/2022
MP4 | Video: h264, 1280x720 | Audio: AAC, 44.1 KHz
Language: English | Size: 14.90 GB | Duration: 18h 41m
The original comprehensive course designed for new Arduino Makers
What you'll learn
Build simple circuits around the Arduino Uno, that implement simple functions.
Write simple Arduino sketches that can get sensor reading, make LEDs blink, write text on an LCD screen, read the position of a potentiometer, and much more.
Understand what is the Arduino.
Understand what is prototyping.
Understand analog and digital inputs and outputs
Understand the ways by which the Arduino can communicate with other devices
Use the multimeter to measure voltage, current, resistance and continuity
Use protoboards to make projects permanent
be productive with the Arduino IDE, write, compile and upload sketches, install libraries
Understand what is Arduino programming, it's basic concepts, structures, and keywords
Detect and measure visible light, color, and ultraviolet light
Measure temperature, humidity and acceleration
Measure the distance between the sensor and an object in front of it
Detect a person entering a room
Detect a noise
Make noise and play music
Display text on a liquid crystal display
Learn about the Arduino IDE 2.0 and the Arduino Web Editor
Requirements
A Windows, Mac or Linux computer
An Arduino Uno
Electronics parts like resistors, LEDs, sensors, as listed in Section 1 of the course
Essential tools: a mini breadboard, jumper wires, a multimeter, a soldering iron and solder, wire cutter
Be excited about electronics!
Description
UPDATED: OCTOBER 2022My flagship course designed for people new to electronics and programming has received a comprehensive update!I have added new lectures in the first half of the course. You will find the new lectures in sections Know your Arduino Uno , Arduino boards and kits , and The Arduino IDE .In these lectures, I cover the latest developments in Arduino software and hardware, including topics such as the Arduino Web IDE, the upcoming Arduino IDE 2.0, and the modern Arduino MKR and Nano IoT board families.I have also verified all links to external websites and other resources, like data sheets, and in many cases, we have added new links to external resources.------------------------------UPDATED: January 2020I have updated this course with a new section in which you will learn how to use arrays in your Arduino sketches. This is a very useful skill, as you can program repetitive tasks with just a few lines of code. Enjoy!---------------------------------------This is the original, legendary Arduino course on Udemy by Tech Explorations, fanatically supported by Dr Peter Dalmaris. It is trusted by thousands of students and contains over 16 hours of content, quizzes, a GitHub code repository, thousands of active student discussions, and countless downloadable and linked resources.Please don't be confused by other courses with a similar name.---------------------------------------This course is for the new Arduino Maker. Do you have a passion for learning? Are you excited about becoming a Maker with the Arduino?If you answered "yes!" to both, you are ready to start!In this course, I emphasized the importance of getting the basics right and learning to mastery. As an educator for over 15 years, I know first-hand that hitting a roadblock because you lack the fundamental knowledge to progress can be demotivating. In Arduino Step by Step Getting Started, I make sure that in the more than 18 hours of video content, mini projects and quizzes, we cover all the basics so you can enjoy learning about the Arduino.By the end of the course, you will have a good understanding of the capabilities of the Arduino Uno, the best Arduino for people getting started, and you will be familiar with the capabilities of several of its cousins. You will be comfortable with the basic prototyping tools and their usage, the basics of the Arduino programming environment, language and programming.You will be able to use a variety of components, from simple buttons and LEDs to visible colour and ultraviolet light and other environmental sensors.Apart from knowing how to use the components I demonstrate in this course, you will also learn how to read datasheets, how to use libraries on your own, and how to learn the skills you need to create the gadgets you want. With knowledge comes freedom, and I will help you get there.I invite you to review the free lectures in the first section of the course to learn more details about it. If you are excited about becoming a Maker with the Arduino, join many other Makers and me in Arduino Step by Step Getting Started!I look forward to learning with you!
Overview
Section 1: Introduction to the course
Lecture 1 What is this course about?
Lecture 2 Parts you will need
Lecture 3 Tools you will need
Lecture 4 How to get the most out of this course
Lecture 5 Update 2022 brief
Section 2: Know your Arduino
Lecture 6 Introduction to this section
Lecture 7 The Arduino Uno over the years
Lecture 8 Getting to know the Arduino Uno: Atmega328P, USB, Shields
Lecture 9 Getting to know the Arduino Uno: Pins, power, clock
Lecture 10 Using the digital output pins
Lecture 11 Using the digital input pins
Lecture 12 Using the analog output pins
Lecture 13 Using the analog input pins
Section 3: Introduction to communications
Lecture 14 Introduction to this section
Lecture 15 Serial (UART) communications
Lecture 16 I C (TWI) communications
Lecture 17 SPI communications
Section 4: Arduino boards
Lecture 18 Introduction to this section
Lecture 19 Arduinos past and present
Lecture 20 Classic Arduinos
Lecture 21 Meet some members of the Arduino family
Lecture 22 Introducing the Arduino Mega 2560
Lecture 23 Introducing the Arduino Due
Lecture 24 Introducing the Arduino Zero
Lecture 25 Introducing the Arduino 101
Lecture 26 Introducing the Arduino Pro Mini
Lecture 27 Introducing Arduino-compatible boards
Lecture 28 Modern Arduinos
Lecture 29 Arduino MKR
Lecture 30 Arduino Nano
Lecture 31 Kits
Lecture 32 Arduino Student Kit
Lecture 33 Arduino Explore IoT Kit
Lecture 34 Seeed Studio Arduino Sensor kit
Lecture 35 DFRobot Beginner Kit for Arduino
Section 5: Prototyping basics
Lecture 36 Introduction to this section
Lecture 37 Using the breadboard
Lecture 38 Using jumper wires
Lecture 39 The absolutely essential tools
Lecture 40 Powering your Arduino with power supplies
Lecture 41 Using the multimeter to measure voltage
Lecture 42 Using the multimeter to measure current
Lecture 43 The multimeter - Resistance and continuity
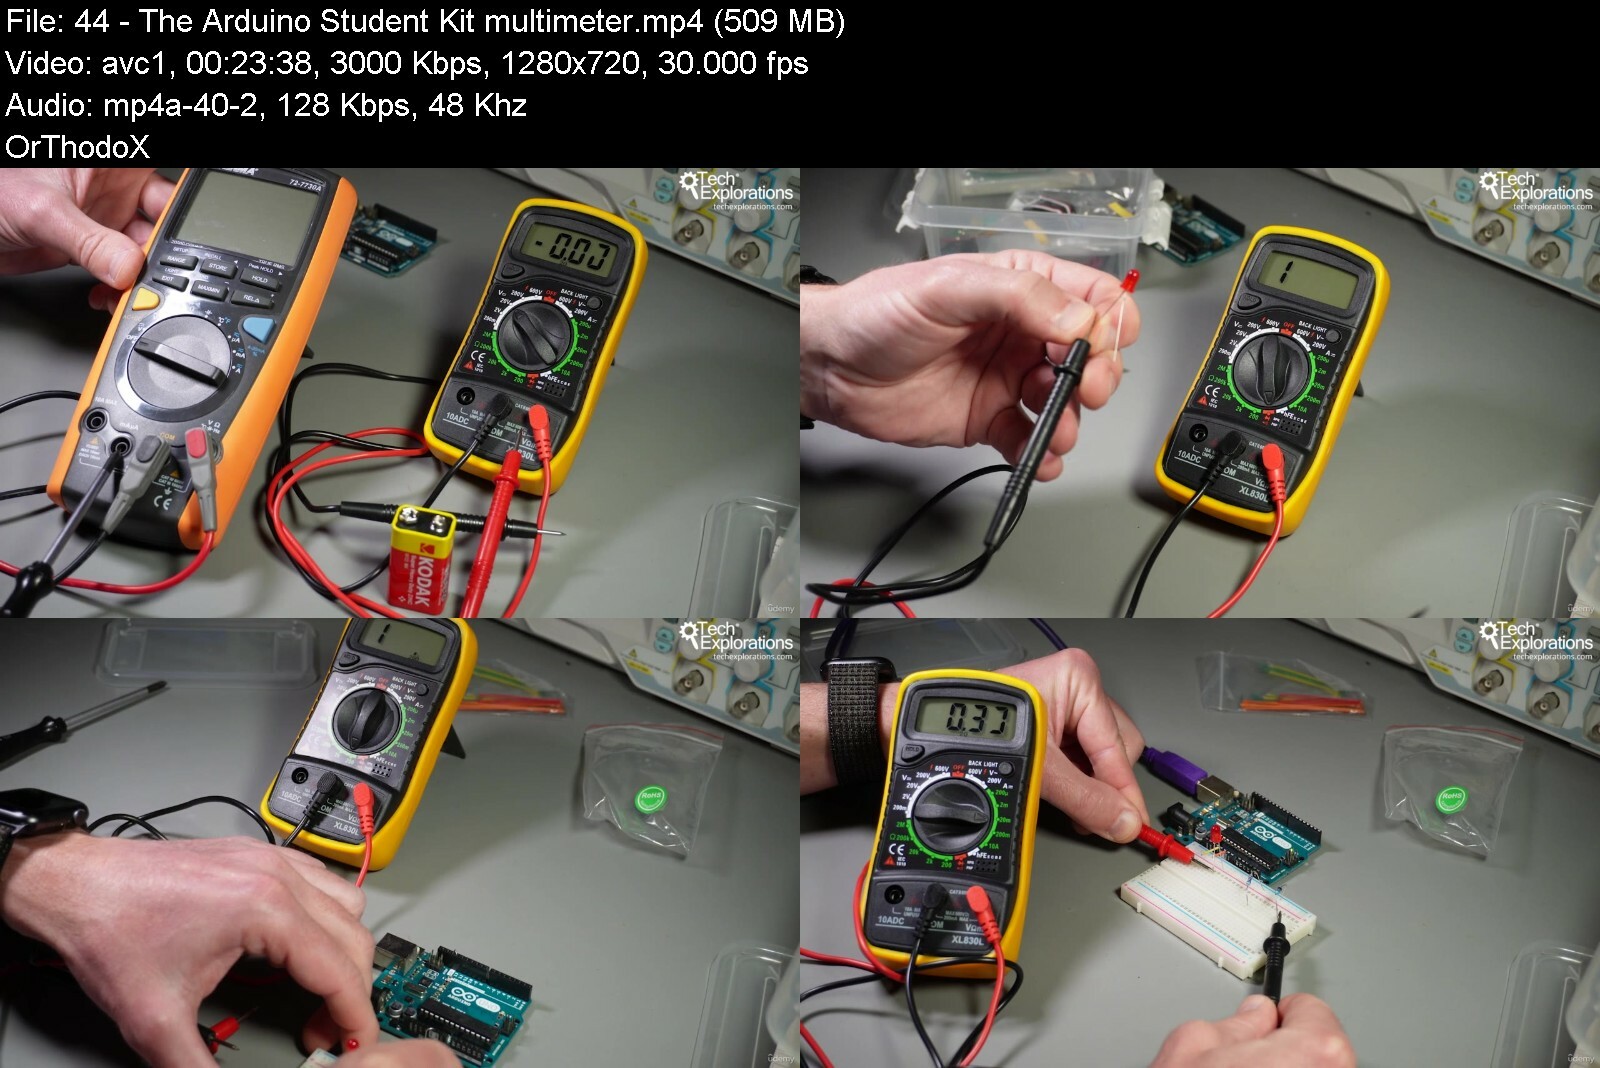
Lecture 44 The Arduino Student Kit multimeter
Lecture 45 Introduction to soldering - the soldering iron
Lecture 46 Soldering - preparation and using holders
Lecture 47 Soldering - using wire cutters and fume extractor
Lecture 48 Soldering - Simple maintenance tips for your solder iron
Lecture 49 A demonstration of soldering a header onto a breakout board
Lecture 50 An introduction to protoboards
Section 6: The Arduino IDE
Lecture 51 Introduction to this section
Lecture 52 Arduino IDE 1.8
Lecture 53 Arduino IDE 2.0
Lecture 54 An introduction to the Arduino IDE
Lecture 55 Getting and installing the Arduino IDE
Lecture 56 The Arduino IDE - Understanding the Preferences pane
Lecture 57 The Arduino IDE - Understanding the Menu items
Lecture 58 How to upload a sketch to your Arduino
Lecture 59 How to upload a sketch to your Arduino - For Windows users
Section 7: Arduino programming
Lecture 60 Introduction to this section
Lecture 61 An introduction to Arduino programming
Lecture 62 Understand the basic parts of an Arduino sketch
Lecture 63 Getting started with custom functions
Lecture 64 Creating custom functions and the return keyword
Lecture 65 Using variables
Lecture 66 Understanding variable scope
Lecture 67 Understanding constants
Lecture 68 Introduction to control structures: The "if" statement
Lecture 69 Introduction to control structures: The "while" statement
Lecture 70 Introduction to control structures: The "For" statement
Lecture 71 Introduction to control structures: The "Switch" statement
Lecture 72 Digital output - how to control an LED
Lecture 73 Digital input - how to read the state of a button
Lecture 74 Analog input - how to read the state of a potentiometer
Lecture 75 Analog output - how to create a fading LED
Lecture 76 Introduction to the RGB (color) LED
Lecture 77 Wiring the RGB LED
Lecture 78 RGB LED: creating colors
Lecture 79 Using a library to control an RGB LED with PWM
Lecture 80 Learning more with the Arduino language documentation
Section 8: Arduino programming: Arrays
Lecture 81 Introduction to this section
Lecture 82 Introduction to Arrays
Lecture 83 Arrays, Example 1
Lecture 84 Arrays, Example 2
Lecture 85 Arrays, Example 3
Lecture 86 Arrays, Example 4
Section 9: Measuring light and color
Lecture 87 Introduction to this section
Lecture 88 What is a photoresistor and how to wire it
Lecture 89 How to select the appropriate fixed resistor for a photoresistor
Lecture 90 Using the Ultra-Violet light sensor
Lecture 91 An introduction to the RGB Color sensor
Lecture 92 Wiring the RGB Color sensor
Lecture 93 Mini project: copy a color to an RGB LED using an RGB Color sensor
Section 10: Measuring temperature, humidity and pressure
Lecture 94 Introduction to environment sensors
Lecture 95 Using a DHT22 sensor to measure temperature and humidity
Lecture 96 An introduction to the Thermistor
Lecture 97 Wiring the Thermistor
Lecture 98 How to calculate the temperature from the thermistor resistance
Lecture 99 Thermistor: getting a temperature using a library
Lecture 100 Thermistor: improving the accuracy of analog readings with AREF
Lecture 101 An introduction to measuring temperature with the TMP36
Lecture 102 Wiring the TMP36 and a demonstration sketch
Lecture 103 An alternate wiring of the TMP36
Lecture 104 An introduction to the MCP9808 for very accurate temperature readings
Lecture 105 MCP9808: Wiring
Lecture 106 Using the MCP9808, demo and sketch walkthrough
Lecture 107 MCP9808: A closer look at I2C addressing
Lecture 108 An introduction to measuring barometric pressure with the BMP180
Lecture 109 Wiring the BMP180 and first sketch walkthrough
Lecture 110 A first demo sketch for the BMP180
Lecture 111 A second demo sketch for the BMP180
Section 11: Detecting acceleration
Lecture 112 Introduction to detecting acceleration
Lecture 113 Introduction to detecting acceleration with the ADXL335
Lecture 114 Wiring the ADXL335
Lecture 115 Plugging the ADXL335 directly in the Arduino, and detect its orientation
Lecture 116 Write the sketch for detecting orientation with the ADXL335
Section 12: Detecting objects with the infrared motion sensor
Lecture 117 Introduction to this section
Lecture 118 Introduction to the Passive infra-Red (PIR) motion sensor
Lecture 119 A simple PIR experiment with an LED
Lecture 120 A demonstration of using the PIR sensor with the Arduino
Lecture 121 PIR sensor first demonstration sketch walkthrough
Lecture 122 PIR sensor second demonstration sketch walkthrough
Section 13: Sensing distance
Lecture 123 Introduction to sensing distance
Lecture 124 Introduction to the ultrasonic distance sensor
Lecture 125 Wiring and understanding Trigger and Echo
Lecture 126 How to calculate distance
Section 14: Sensing sound
Lecture 127 Introduction to sensing sound
Lecture 128 Introduction to the analog sound sensor
Lecture 129 A demonstration and sketch of the analog sound sensor
Lecture 130 A demonstration and sketch of the digital sound sensor
Section 15: Making noise with a buzzer
Lecture 131 Introduction to this section
Lecture 132 Introduction to the buzzer
Lecture 133 Playing music
Lecture 134 Control the sound volume
Section 16: The Liquid Crystal Display
Lecture 135 Introduction to this section
Lecture 136 Introduction to the LCD
Lecture 137 LCD wiring in 4-bit parallel mode
Lecture 138 LCD demonstration sketch
Lecture 139 Display sensor data in the LCD
Lecture 140 Connect LCD using the I2C adaptor
Lecture 141 Using the RGB LCD and buttons shield
Section 17: Video Responses
Lecture 142 Why use 3 resistors for the RGB LED, vs. just one resistor on the cathode?
Section 18: Conclusion and Bonus Lecture
Lecture 143 Recap: what you have learned and what's next
Lecture 144 Bonus Lecture
Students over 10 years of age, or younger with with adult supervision. Young students should be supervised at all times when using a soldering iron.,Students with a little or no prior experience with electronics or programming.
https://anonymz.com/?https://www.udemy.com/course/arduino-sbs-17gs/
https://rapidgator.net/file/46d425bfb9c6b1b055770f8739249feb/Arduino_Step_by_Step_Getting_Started.part1.rar
https://rapidgator.net/file/3ad3fe3b5c36fc7e1a88e71b44e643d5/Arduino_Step_by_Step_Getting_Started.part2.rar
https://rapidgator.net/file/5c5f551725cd0ae970232e16e3b3ec12/Arduino_Step_by_Step_Getting_Started.part3.rar
https://nitroflare.com/view/CB67216DEF65EA6/Arduino_Step_by_Step_Getting_Started.part1.rar
https://nitroflare.com/view/D28D401B86BAEE7/Arduino_Step_by_Step_Getting_Started.part2.rar
https://nitroflare.com/view/8CB71289C7F2F7E/Arduino_Step_by_Step_Getting_Started.part3.rar

